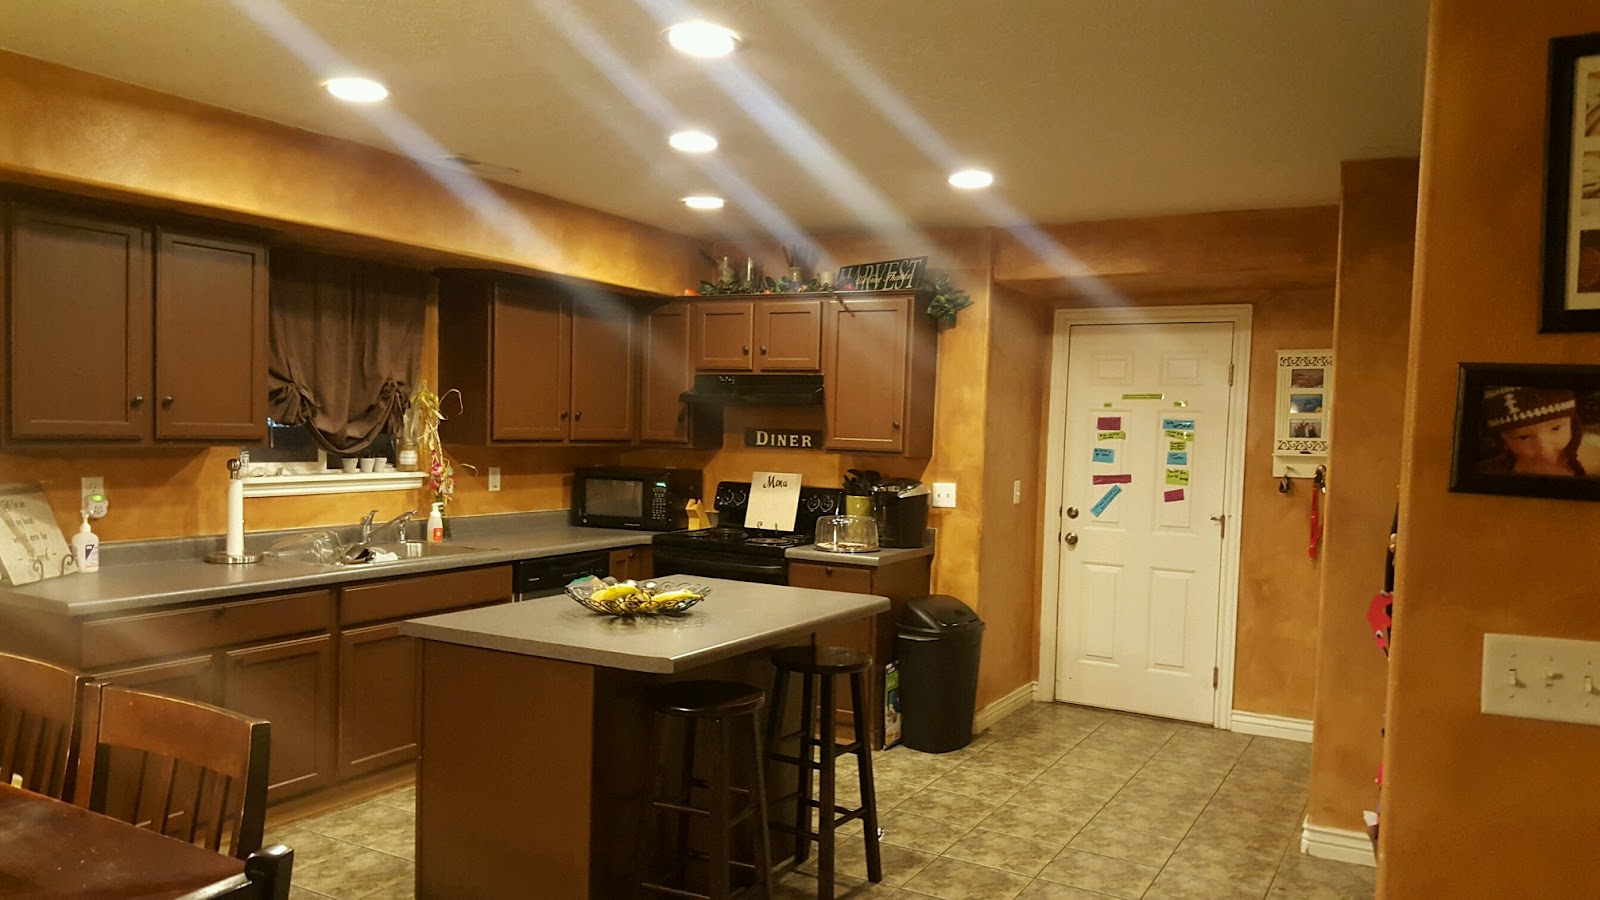
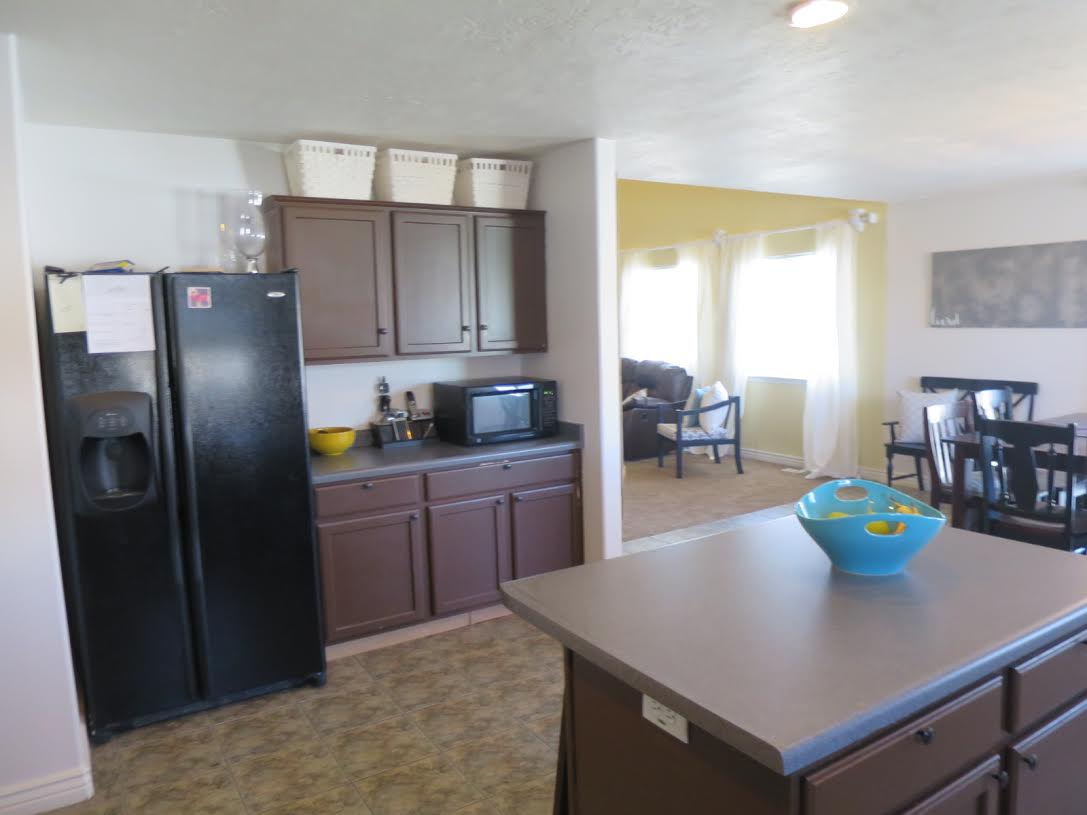
We went to Candace's house to see what she wanted us to help her with. She felt like her kitchen was dark and wanted to lighten it up. She wanted the kitchen and living room to feel more cohesive. Candace also expressed that she struggles with just buying things she likes, but doesn't have a 'plan'. She loves having photographs up that she can add to or change easily.
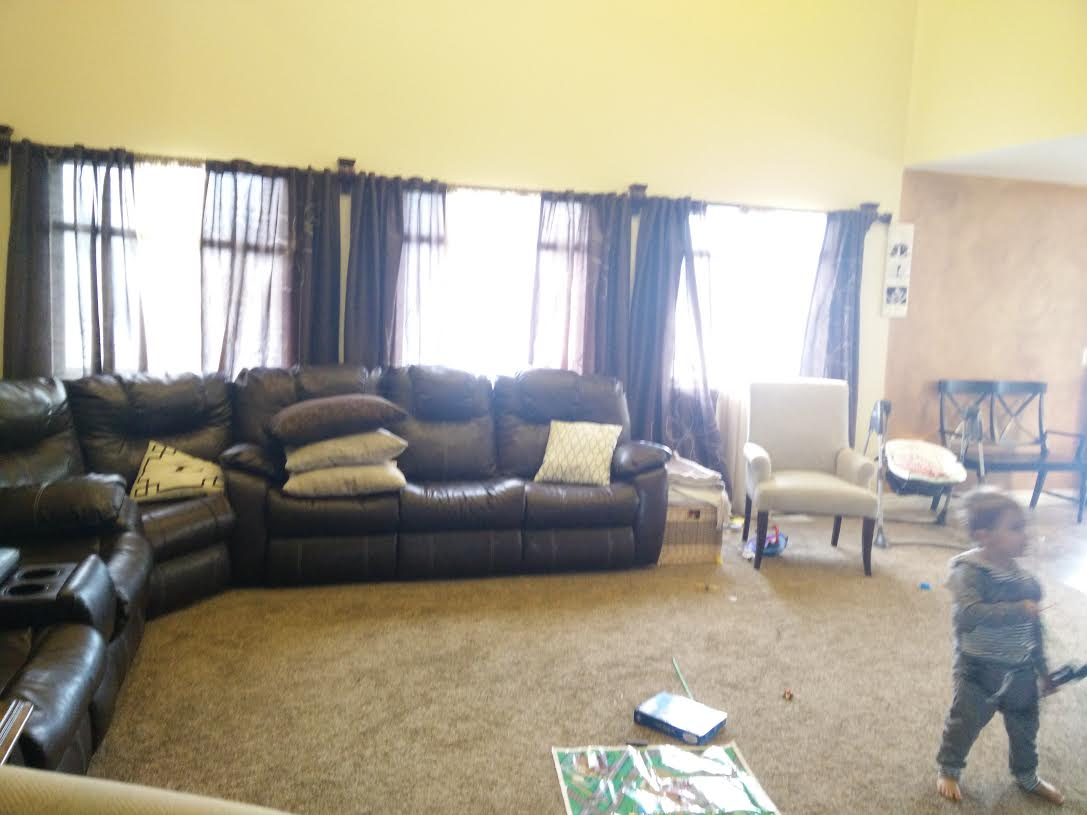
Originally she wanted to paint the cabinets white and the walls grey. We were keeping the soft yellow in the family room because it was recently painted.. but also because she has very high ceilings and it's a very big job :). After looking at the kitchen and talking more about the colors we decided to to paint the walls a nice shade of white ( Toque White from Sherwin Williams) and the cabinets will be painted a nice medium charcoal grey because her appliances are black and she isn't planning on changing them in the near future.
I sketched out some ideas. Also created a Pinterest board for her (click HERE to see) for ideas to see the whole concept and to help her find her style.
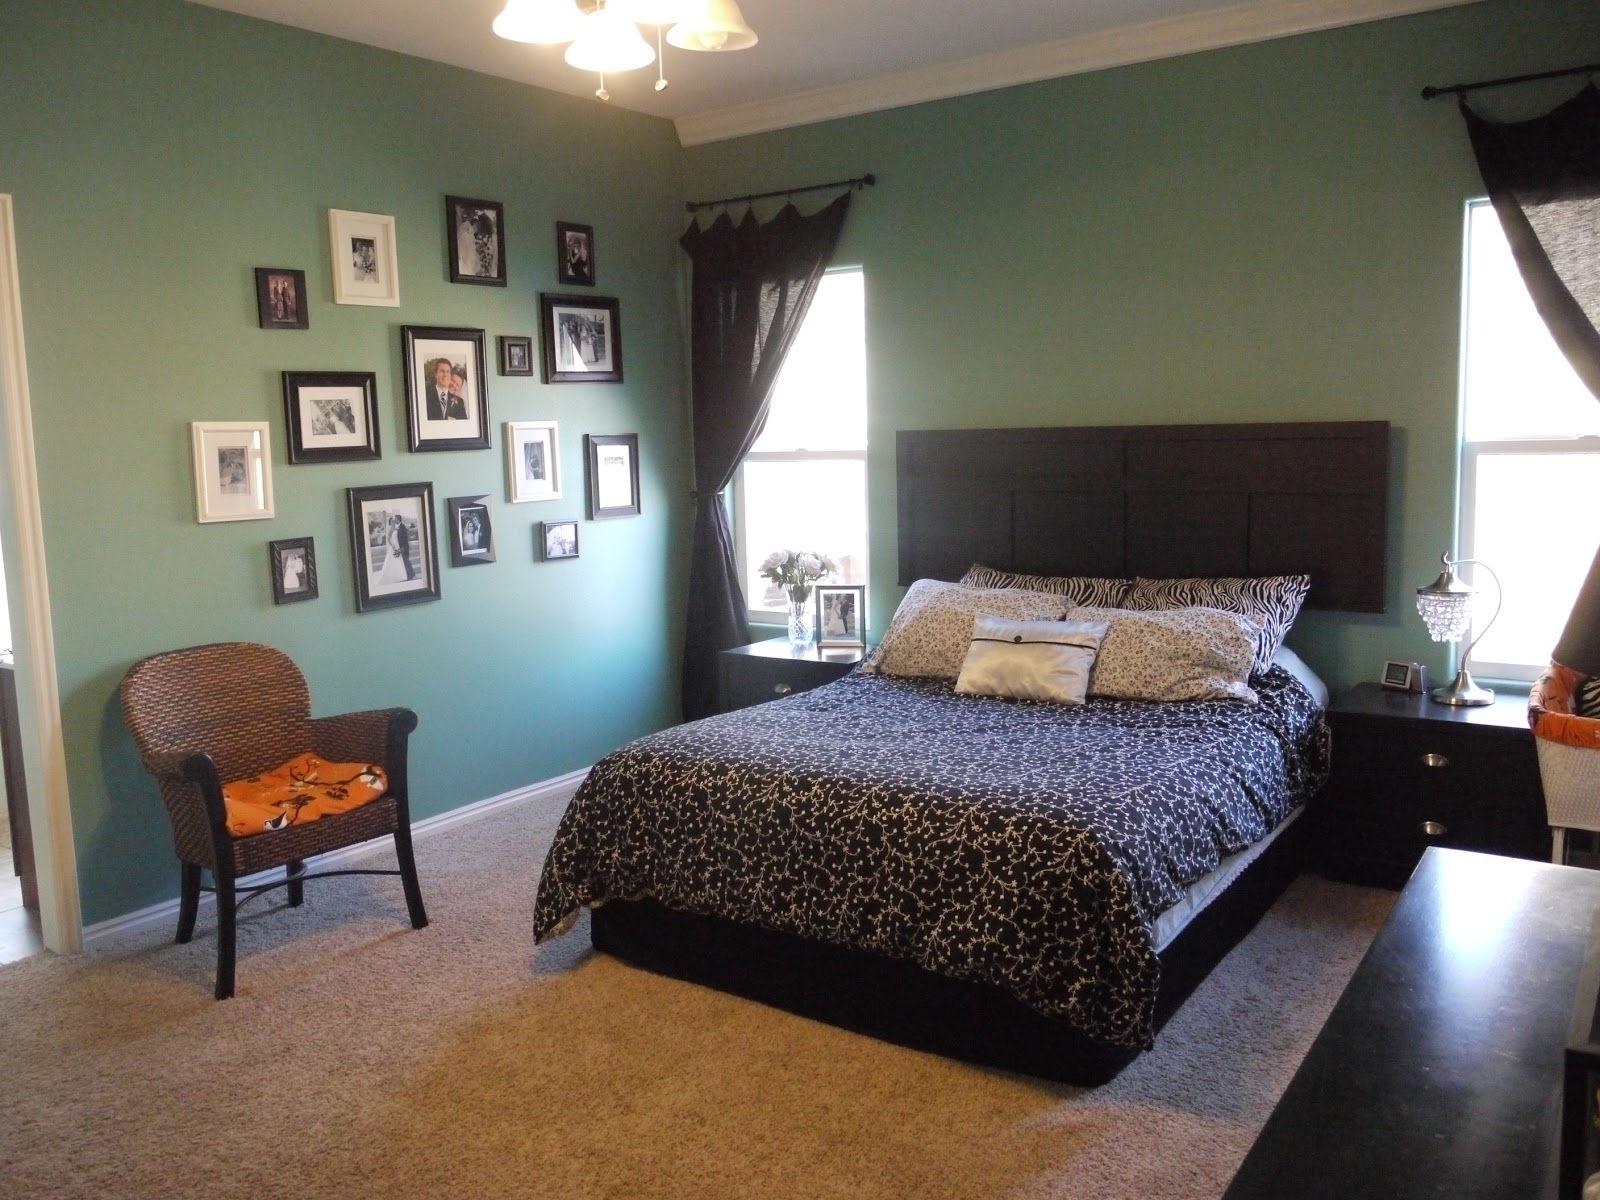
The big thing that we did in Candace's makeover was minimize. We took a lot out. We created better focal points so that they made a statement and caught your eye.
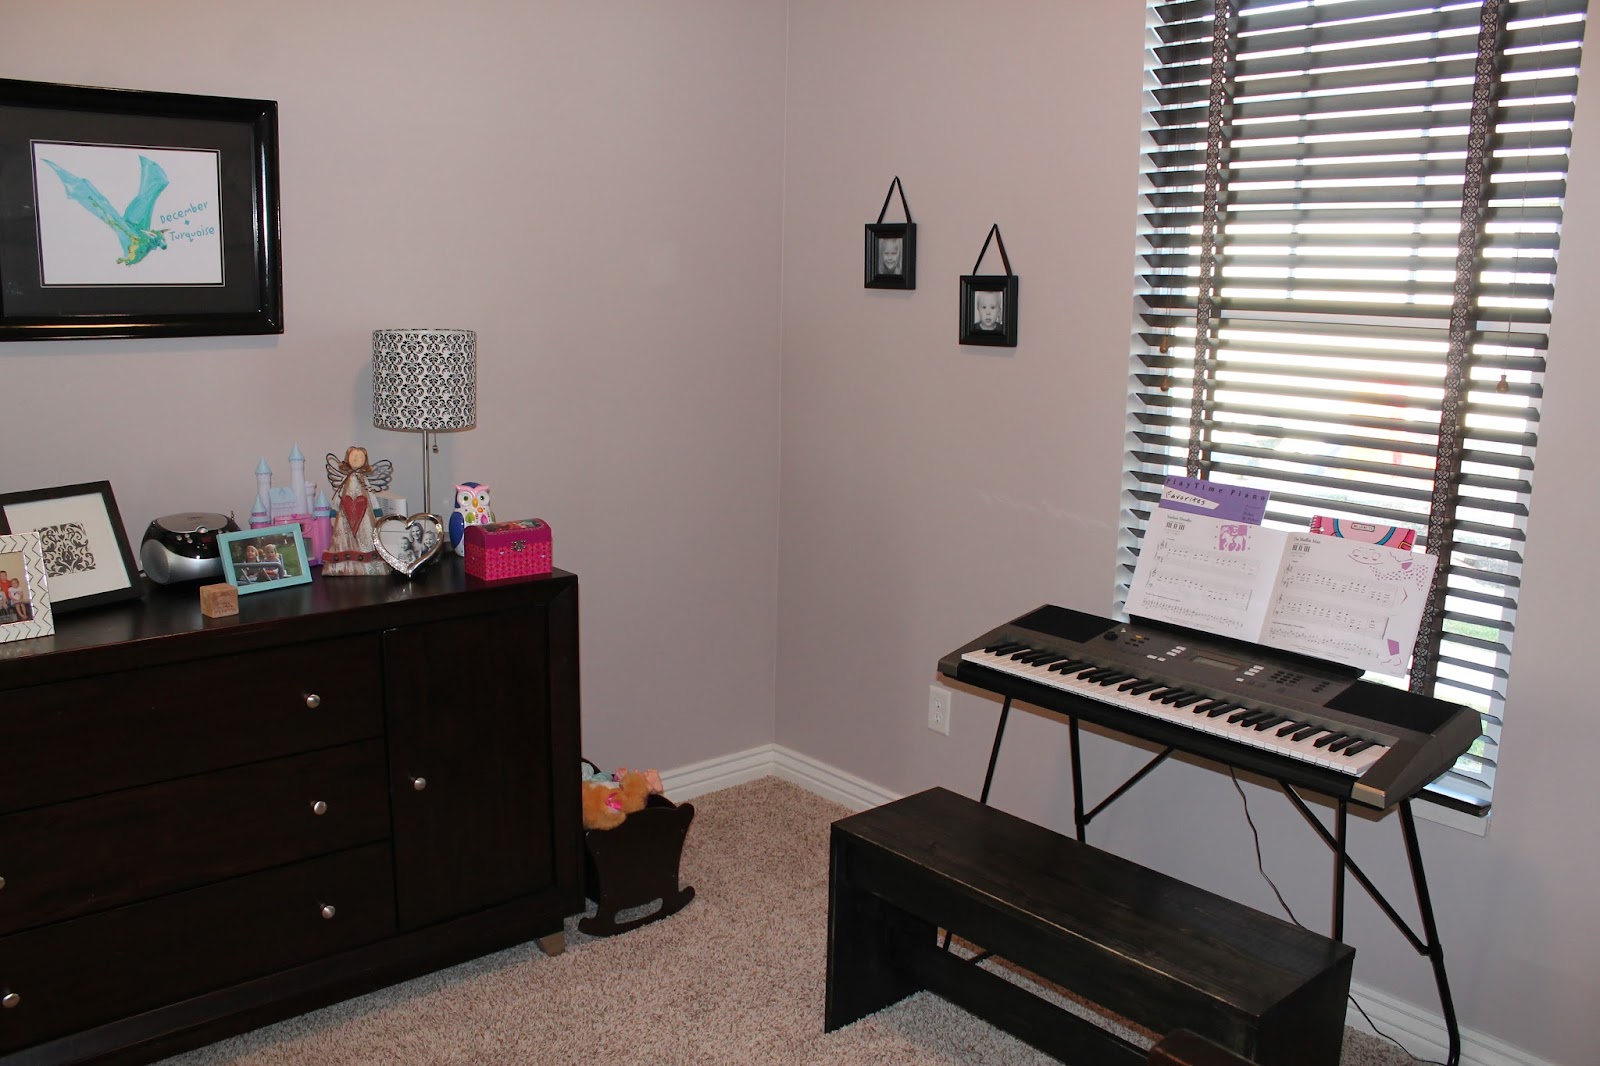
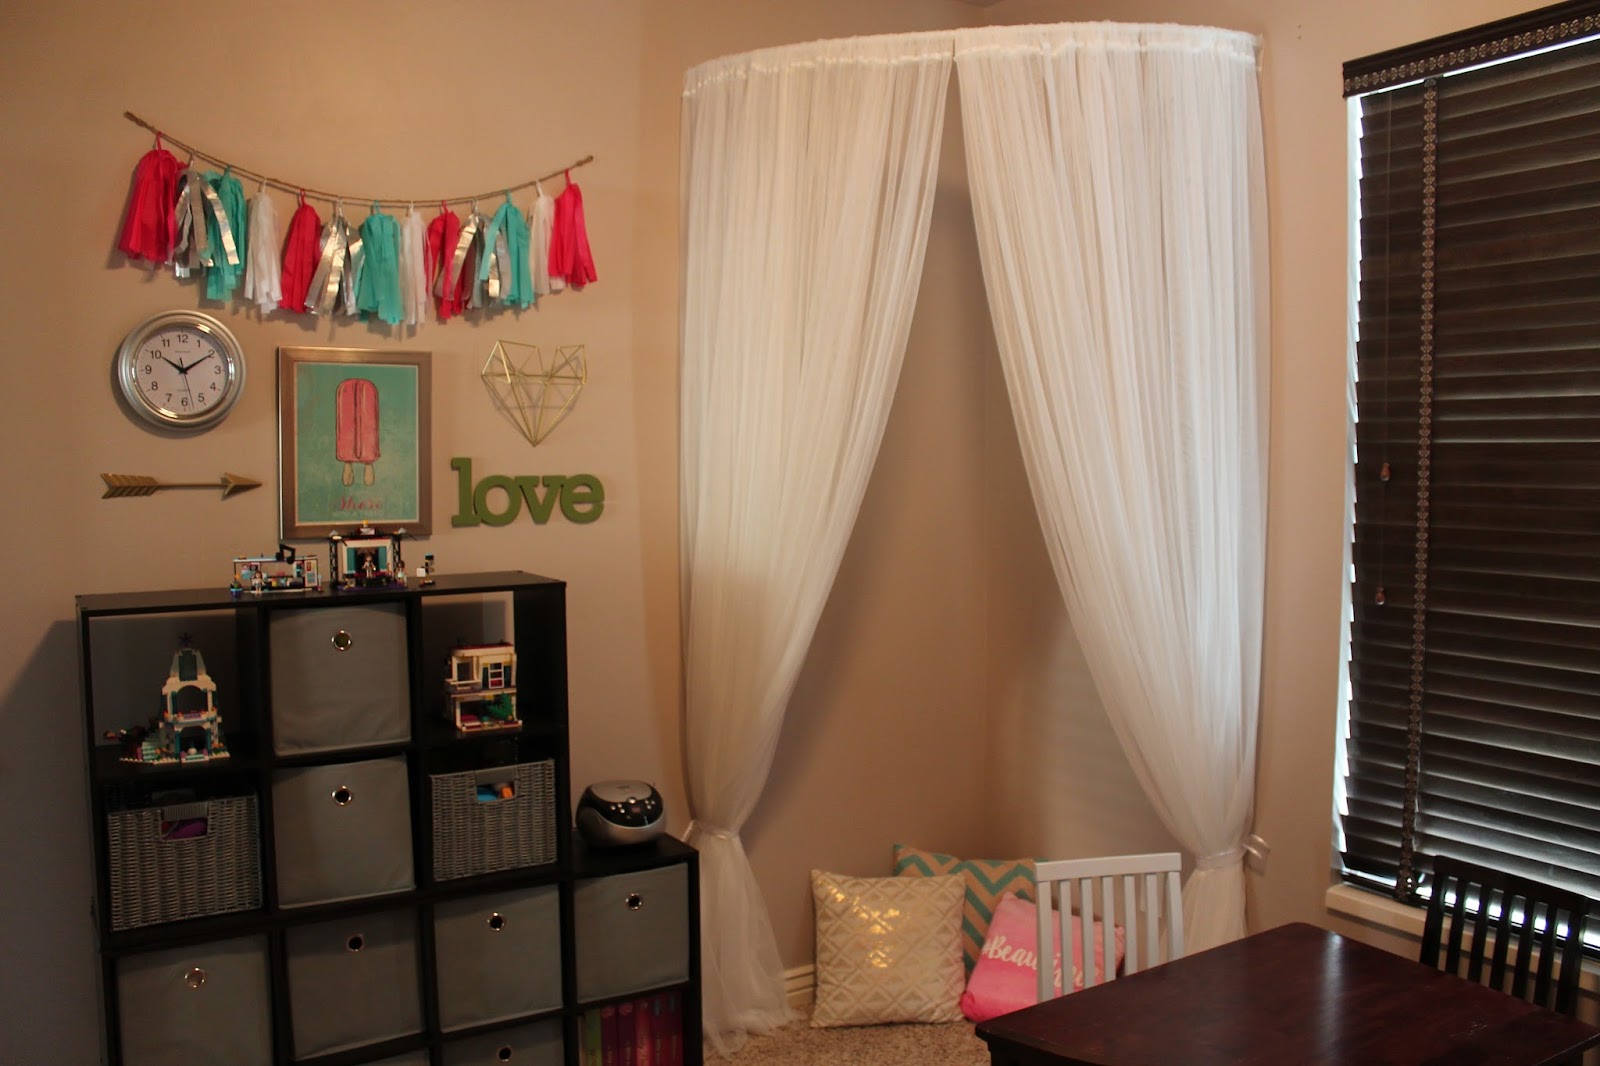
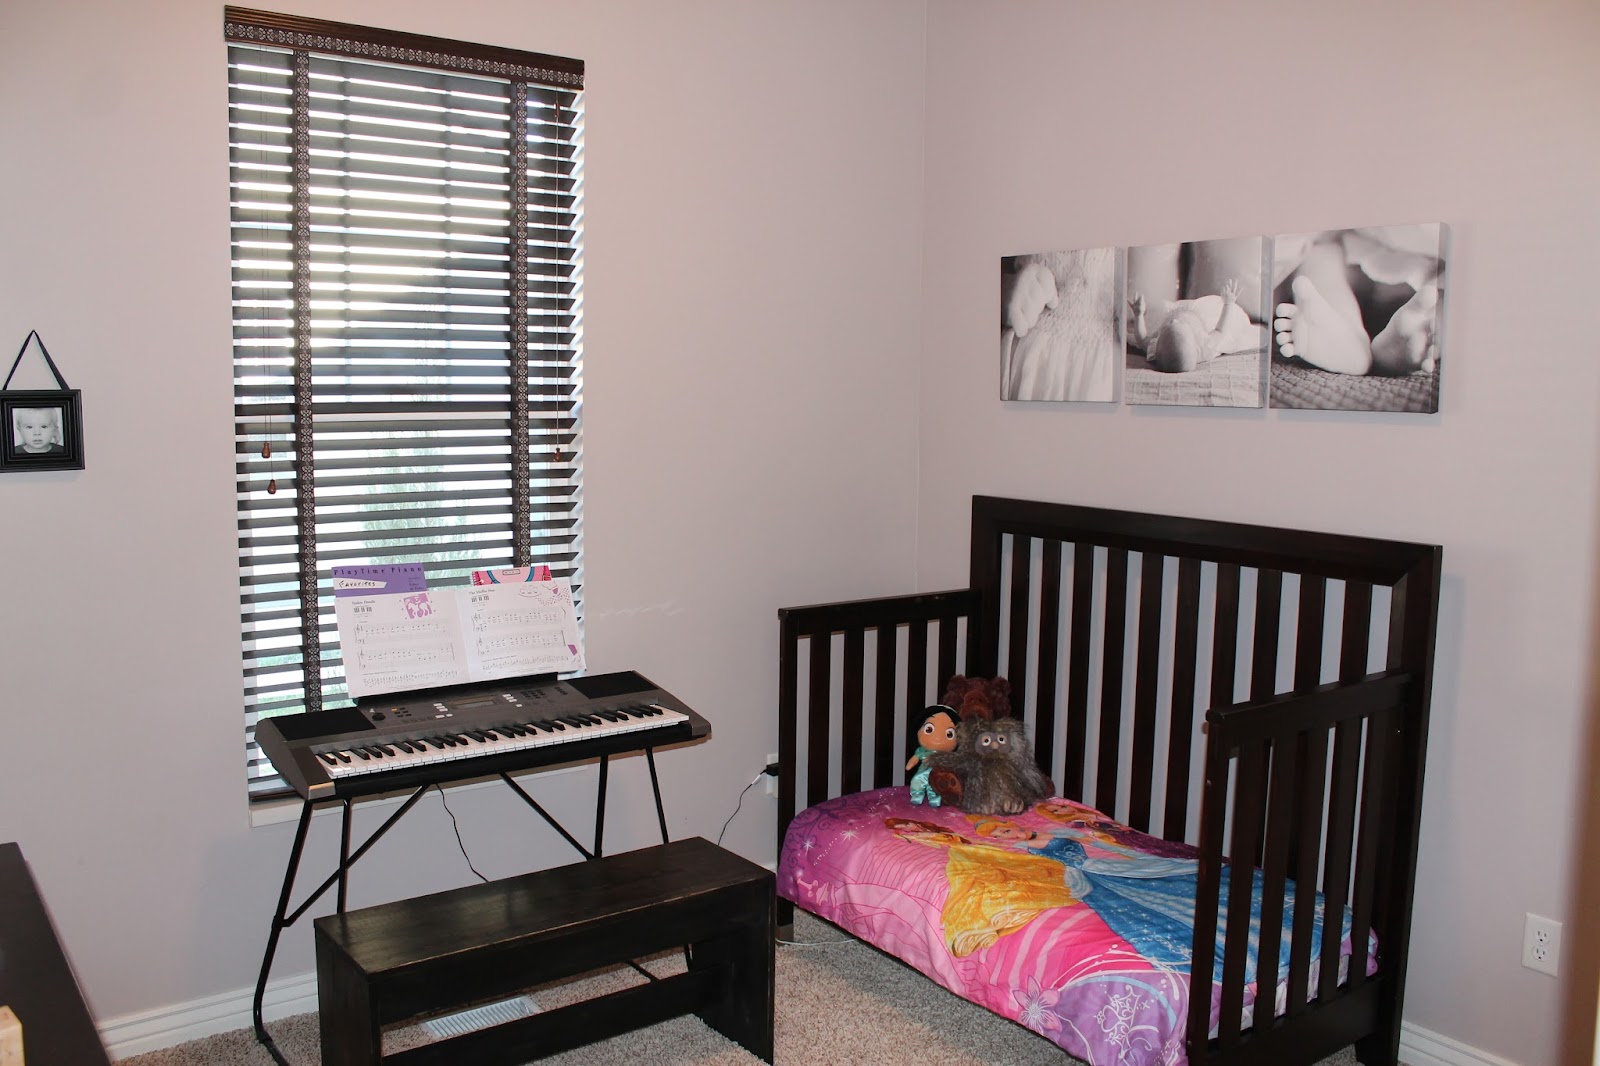
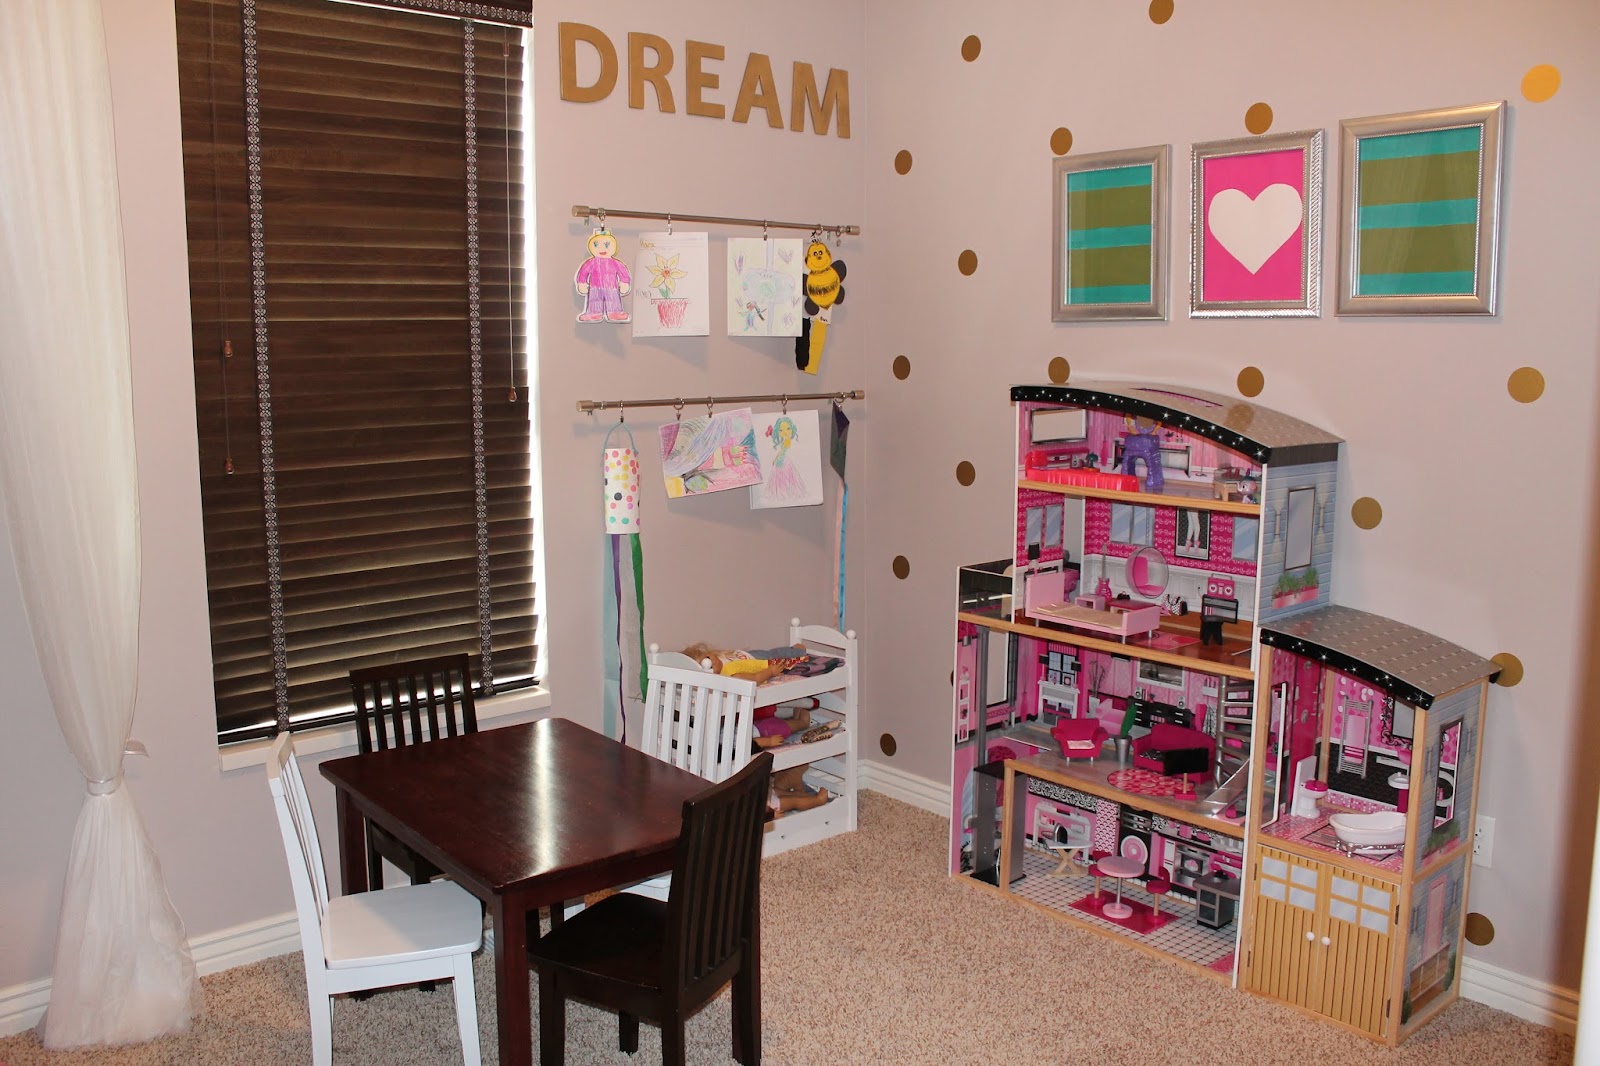
BEFORE

AFTER

BEFORE
AFTER

BEFORE
AFTER
BEFORE

AFTER
BEFORE

AFTER

BEFORE


AFTER

BEFORE
AFTER

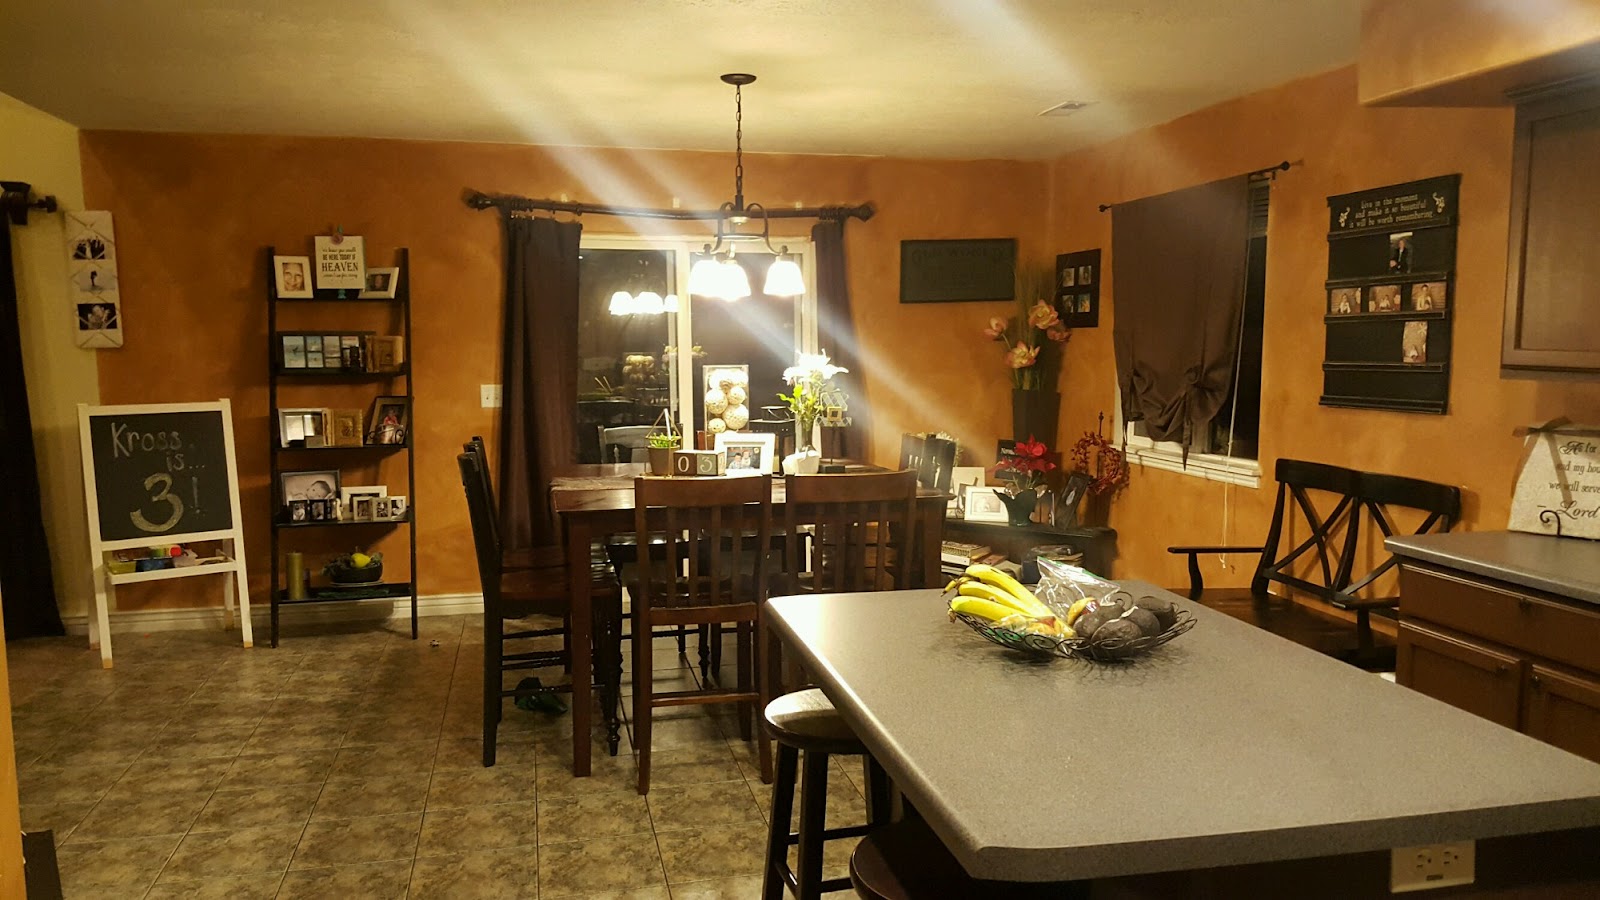
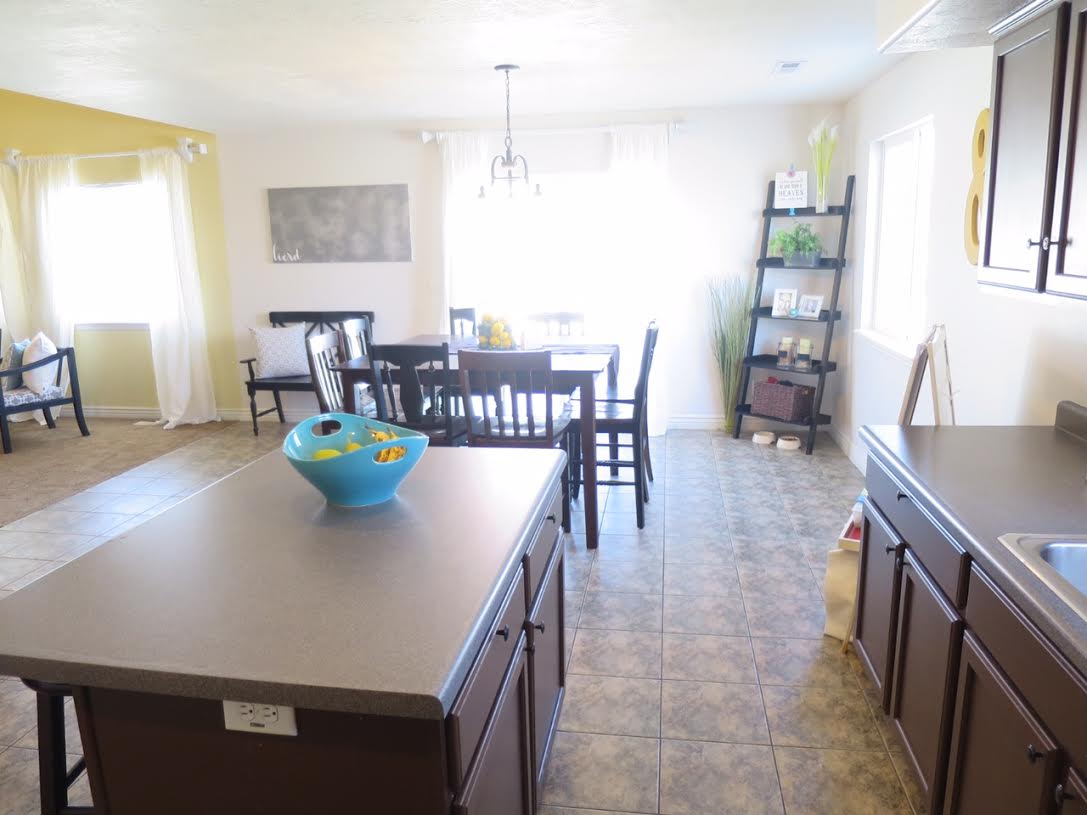
In the kitchen we also lightened up the curtains to keep it feeling fresh. We removed the crowded feeling on the ladder shelf and moved it to the corner. Moving the bench closer to the living room helps it serve her better when needing more seating in the living room and clears up space in the dining area for moving around. We minimized the artwork and the counter tops and above the cabinets. Helps them to all have a cohesive feeling. Baskets are great for keeping the clean feeling and being useful storage. The kitchen chandelier needed a face lift and for $16, we bought new globes to freshen and change the look!


We also made a statement piece with the chicken wire 'door' as a place to hang all those great pictures we love to see, but can look like clutter.
In her living room we brightened it up by painting the curtain rods, hanging them higher and getting white curtains. To pull white from the kitchen. We lined up the angle of her entertainment center to match the angle of her TV and kept it simple with a few plants. Clearing off and 'staging' her book case better lightens it and keeps with the fresh feeling. Adding a lamp and plant to the coffee table adds some height to that corner ( not to mention light in the evening). Now for her wall space
She had a giant wall and knew the space needed to be filled, but instead of having 3 different 'arrangements', putting your focus on one large one that is to the scale of the room, gives your eye a place to gravitate towards... Another thing. All the items, except the 'letter decor' and the smaller pallet piece on the left, were already in her house. It's not always a matter of needing to buy all new items, it's just in what you pick, how you arrange, and spacing.
Ok. I hope you are impressed with the after... and I believe you will be impressed with the budget too considering that we painted, bought some new decor, bought a coffee table, and tons of new curtains
$245 Accessories, pillows and DIY supplies
$127 Wall paint
$43 Curtains
$65 New coffee table
= $480.
But wait!! Candace gathered up decor items that were no longer going to be used and made $123
So, the total out of pocket cost for both rooms was $357!!